You will learn how to correctly remove Glary Disk Cleaner by browsing this page. Just choose the solution you like and get the removal done.

Glary Disk Cleaner is a free utility that can help keep your disk organized by removing unnecessary files, most of which were left behind by incomplete removal of programs.
Publisher: Glarysoft
Official website: http://www.glarysoft.com
Release date: November 25, 2019
Version: 5.0.1.191
Operating system supported: Windows 2000/XP/2003/Vista/Server 2008/7/8/10
Installer: dcsetup.exe
Price: Free
Typical removal using the Windows removal tool (Add/Remove Programs) is often insufficient. To completely remove Glary Disk Cleaner and other programs you don’t need, you can follow our guides. If you experience issues going through any of the solutions below, leave messages to tell us.

Solution 1: Manually Remove Glary Disk Cleaner Yourself
1. To ensure a smooth removal, remember to close quit the Glary Disk Cleaner program and end the related processes that are running in the background.
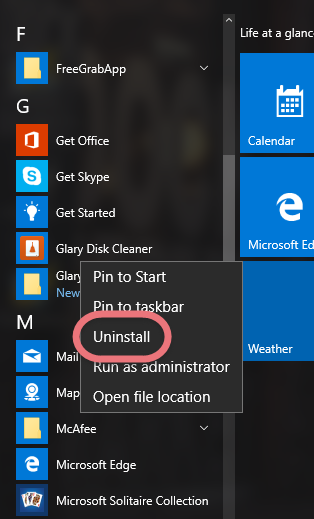
2. Click on the Start button, click Apps, and find Glary Disk Cleaner under the Glarysoft folder. Right-click on its icon and select Uninstall.
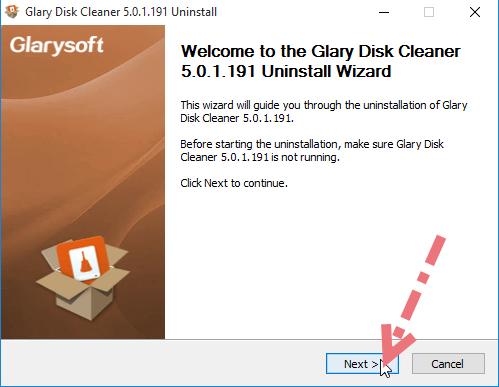
3. Then you should be prompted with window that says, “Welcome to the Glary Disk Cleaner Uninstall Wizard. The wizard will guide you through the uninstallation. Before starting the uninstallation, make sure the program is not running, Click Next to Cotinue.” Just click Next.
4. You will be prompted with two options – Repair and Remove. Click the recycle bin icon of the Remove option.
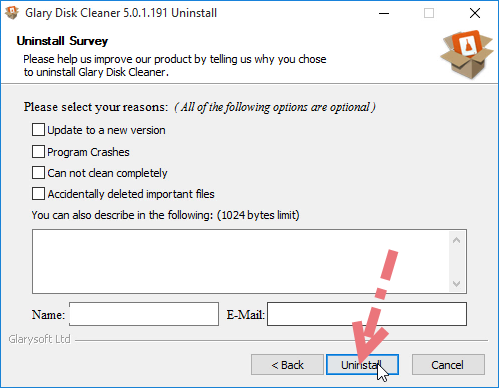
5. When being ask why you remove Glary Disk Cleaner, you can select any of the listed reasons to proceed with the removal.
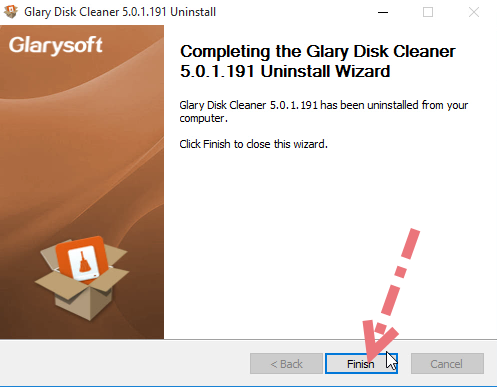
6. Click Uninstall, wait for the Setup Wizard to finish its job, and click Finish.
7. A pop-up box says “You must restart your system for the configuration changes made to Glary Disk Cleaner to take effect. Click Yes to restart now or No if you plan to manually restart it later.” Click Yes to restart your PC right away.
8. If there is no other Glarysoft (publisher) programs installed on the computer, go to the next step. Otherwise just reboot to finish.
9. Now you need to go delete the remaining files (entries) that could be left in the Registry > Type “regedit” in the Search Box on the Taskbar (bottem-left corner of your screen), and select regedit from the results to open the Registry Editor.
10. Find the following folders and delete them:
- HKEY_CURRENT_USER/Software/Glarysoft
- HKEY_LOCAL_MACHINE/SOFTWARE/Glarysoft
11. To check whether there are still any remaining files, on the navigator click Edit > Find…, enter “Glarysoft” to find out. Delete the results if found to completely remove Glary Disk Cleaner.
12. You must reboot the system at least once to achieve the complete removal. So if you haven’t restarted the computer in Step 6, restart it now to take effect. Then you can perform the same steps to remove other programs you don’t want and those you never plan to use.
Under the following subtitle, you will find a simpler way to uninstall programs in Windows. By doing that, you don’t need to wonder around the system and can save a lot of unexpected troubles.
Solution 2: Easily Remove Glary Disk Cleaner
The solution I would like to introduce is an easy-to-use, small-sized tool that supports all the popular Windows OS versions. You can also try to uninstall other programs that are not welcome anymore in the system with it. How does it work? Take a quick look below:
Step 1: Click any of the blue download buttons on this page or visit the homepage to download Special Uninstaller.
Step 2: Run it, and you can see clearly what programs are installed currently. Choose Glary Disk Cleaner and click Run Uninstaller.

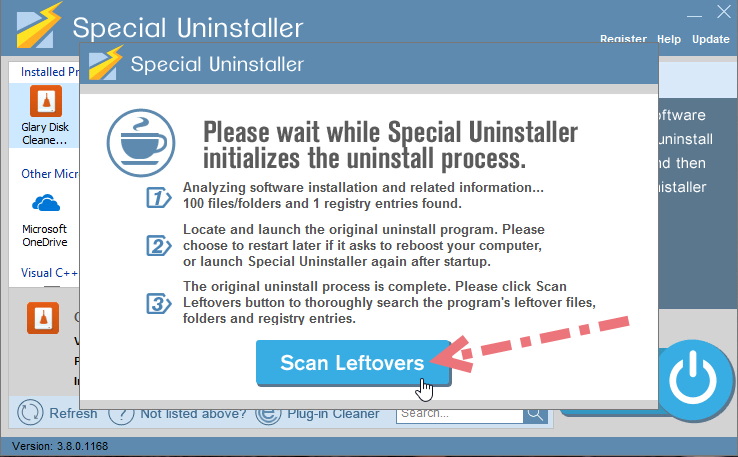
It will scan for all the related files and get ready for your next request, during which you may be asked for confirmation of this removal, just click Yes/OK to proceed.
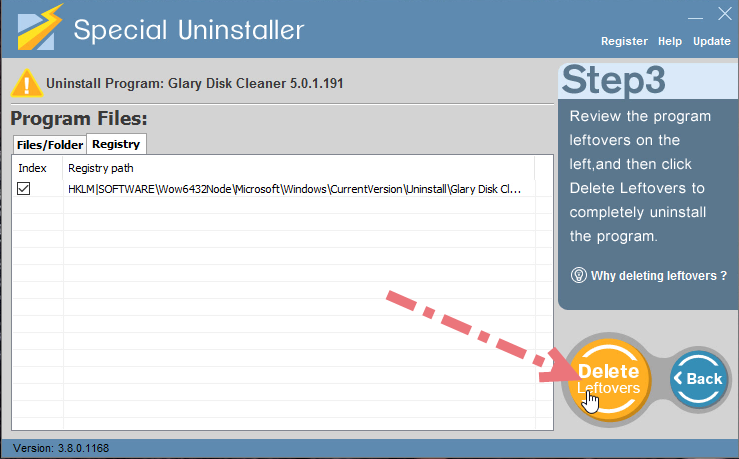
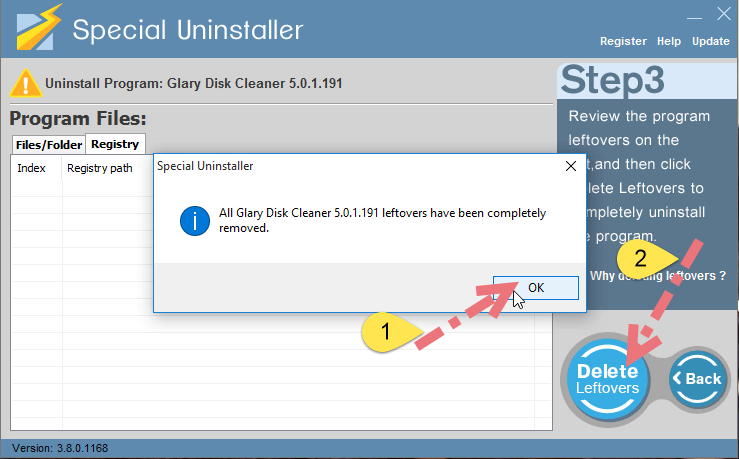
Step 3: Click Scan Leftovers when it turns to blue, then you see the all the vestiges that most users will forget to delete during the manual removal. Click Delete Leftovers to fully remove Glary Disk Cleaner.
Clicking Back to refresh the list of currently installed programs, and check whether your target is no long there. You can perform the same steps to remove other needless programs and free up some disk space. I do hope this recommendation can be a better removal solution to you anytime.
Leave a Reply