Searching for solutions to remove Monkey’s Audio? If so, you can get answers on this page, which provides both the programs relevant information and different uninstall methods for you to choose.
Monkey’s Audio is a lossless codec, meaning no audio quality will be lost whilst compressing (unlike lossy codecs such as mp3 which throw audio data away), audio compressed to a lossless codec will be decoded identical to the source. Here are some other details:
- URL: www.dbpoweramp.com/codec-central-monkeys.htm
- Default installation folder: C:\Programs Files\Illustrate\dBpoweramp
- Uninstaller:”C:\Windows\system32\SpoonUninstall.exe”C:\Windows\system32\SpoonUninstall-dBpoweramp Monkeys Audio Codec.dat
The following content will show you how to correctly remove Monkey’s Audio on your PC. Through the reading you can also get a basic understanding of how windows uninstalls a program.

How to Regularly Remove Monkey’s Audio in Windows?
First of all, the account you’re using to login the system should have the administrative rights, which allow you to make changes on the operating systems without providing password. But if your system never had a second account, ignore this, then start the removal right away:
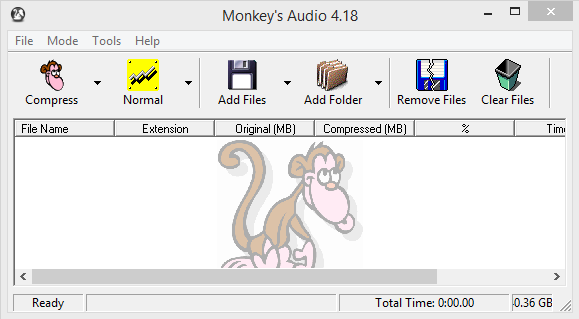
Step One: Shut down Monkey’s Audio.
Quit the Monkey’s Audio program from running in the background no matter what. It may not be necessary towards the removal of some programs, but just in case.
Step Two: Remove Monkey’s Audio by activating its built-in uninstaller (2 Options).
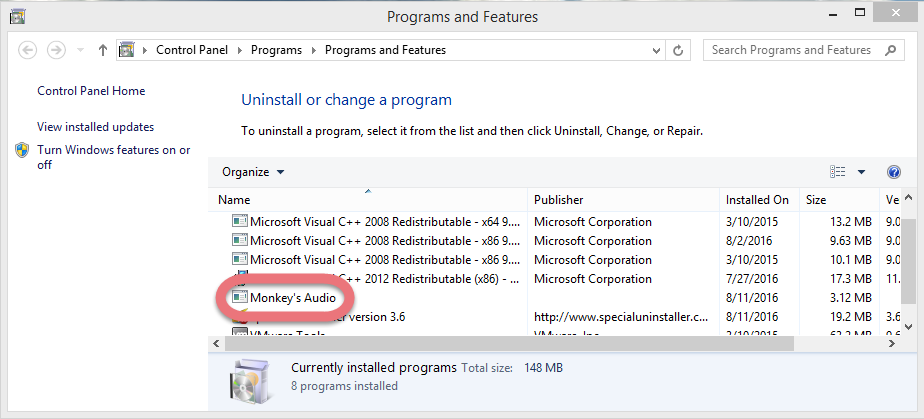
Option 1: Right-click on the Start button in the bottom-left corner of your screen, then select Programs and Features > Double-click Monkey’s Audio to activate its default uninstaller
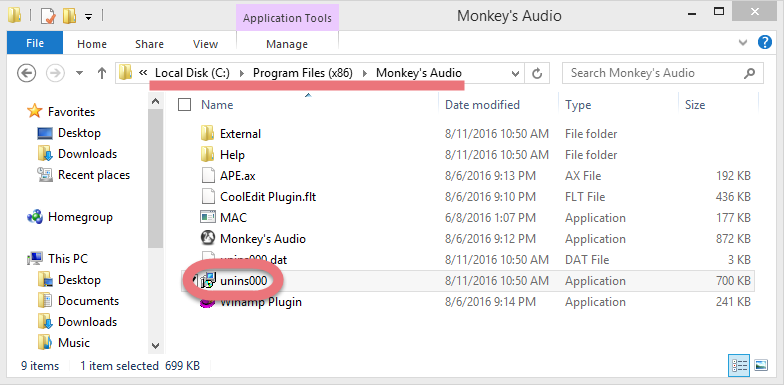
Option 2: Open the File Explore by clicking the folder icon on the Taskbar, and navigate to this location: X (the hard drive you installed the program on):\Programs Files (x86)\Monkey’s Audio\, double-click the executable file name unins000.exe to activate its default uninstaller.
Step Three: Confirmation.
Follow the on-screen instruction to confirm the uninstall, and wait for the built-in uninstaller to finish its part. Then we get to clean out the lingering files.
Step Four: Open the Windows Registry Editor.
Option 1: Hit Windows key + C on your keyboard to open the Charms > Select Search > enter “regedit” in the input field.
Option 2: Type “regedit” in the Search input field on the Taskbar, and hit Enter on your keyboard.
Step Five: Delete the leftovers to fully remove Monkey’s Audio from your PC.
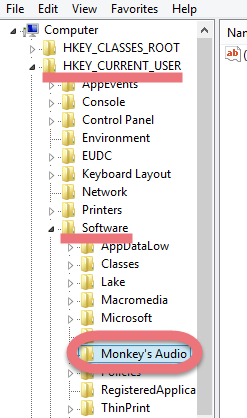
Navigate to this folder: HKEY_CURRENT_USER\Software\Monkey’s Audio\, right-click on it and select Delete.
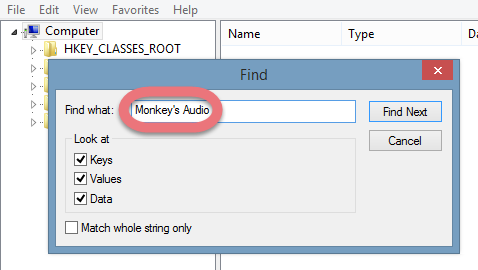
Then on the navigator of Registry Editor, click Edit > Find… > search for “Monkey’s Audio” > Delete the file (s)/folder (s) if found.
Step 6: Restart your PC to take effect.
Then check your system tray (right end of the Taskbar) and Task Manager (hit Ctrl + Alt + Del to open), if you don’t see Monkey’s Audio persist then the removal was successful.
Super Easy Way to Remove Monkey’s Audio on Your PC
This method applies to all the popular Windows systems, saving troubles and possible risks during the conventional removal. The following short video will give you a quick view of how it works:
Then here are the steps:
1. Download & install Special Uninstaller.
Click any of the blue download buttons on the page to download & install Special Uninstaller, then run it.
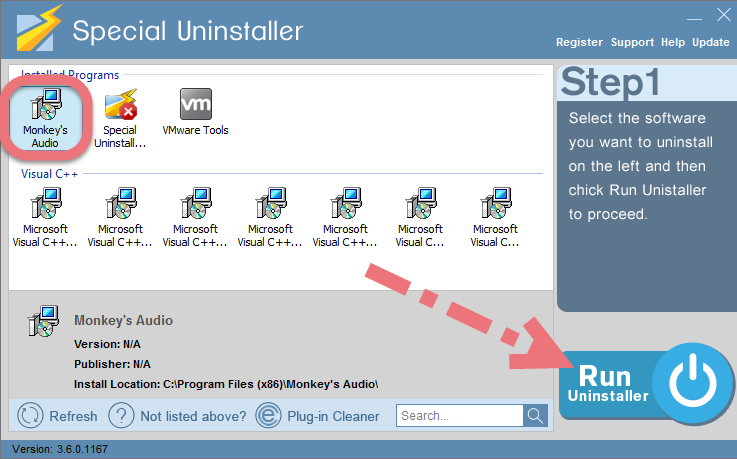
2. Remove Monkey’s Audio.
Select Monkey’s Audio in the Programs list, and click Run Uninstaller, follow the on-screen instructions of proceed and confirm the removal.
3. Delete the registry entries.
Click Scan Leftovers, and you will see a list of deleting files and registry entries (leftovers) of the program. You can review the list for details including their names and locations, then hit Delete Leftovers to fully remove Monkey’s Audio.
Clicking  will bring you back to the list of currently installed programs, so that you can check whether the uninstall was successful.
After the successful removal, if you need to reinstall Moneky’s Audio for later use, download it from the official site to avoid malicious traits. For any questions you want to ask about this removal, leave comments below. We’ll read them and get back to you with a proper answer as soon as possible.
I need to Uninstall ZoneAlarm Antivirus I need to Uninstall Aeria Ignite
Leave a Reply