
iTunes is one of the most popular applications you can free download on internet which belongs to Apple corporation. There are times you need to uninstall and re-install iTunes with different versions to upgrade/degrade them or it keeps causing a huge number of problems for Windows systems.

The good news is that if you want to uninstall & Remove iTunes from your computer, there are two highly effective ways to do it completely, which you’re going to learn in this tutorial.
How to manually Uninstall iTunes
Click “Start” & locate “Control Panel”
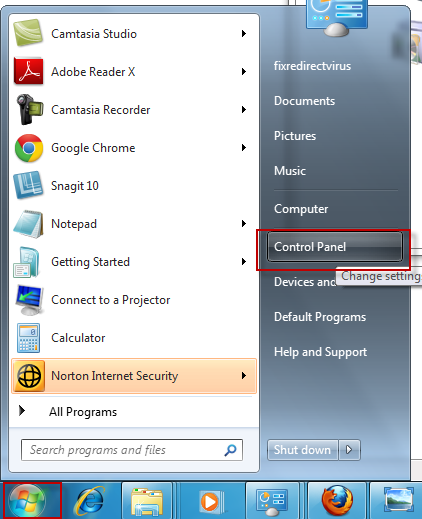
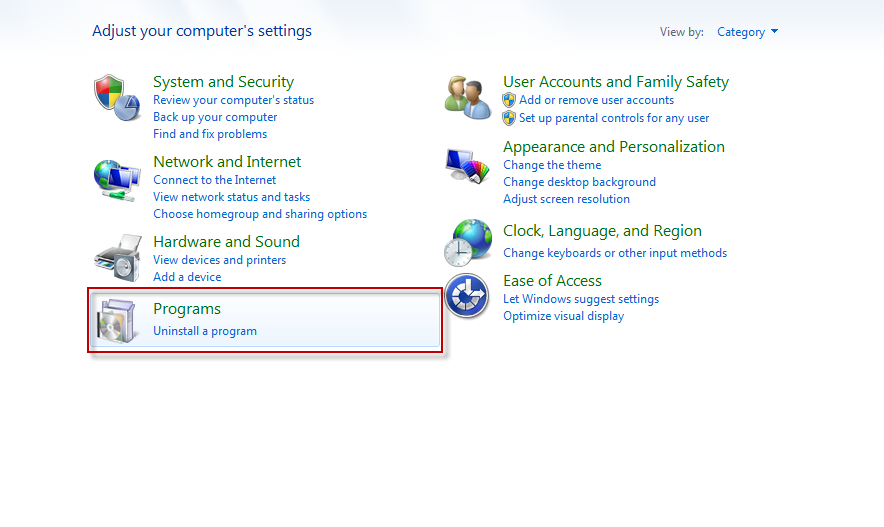
Inside control panel, select “Uninstall a program” (select “Add / Remove Programs” in Windows XP)
This will bring up a list of programs, in there locate “iTunes” and other applications connected to Apple Inc
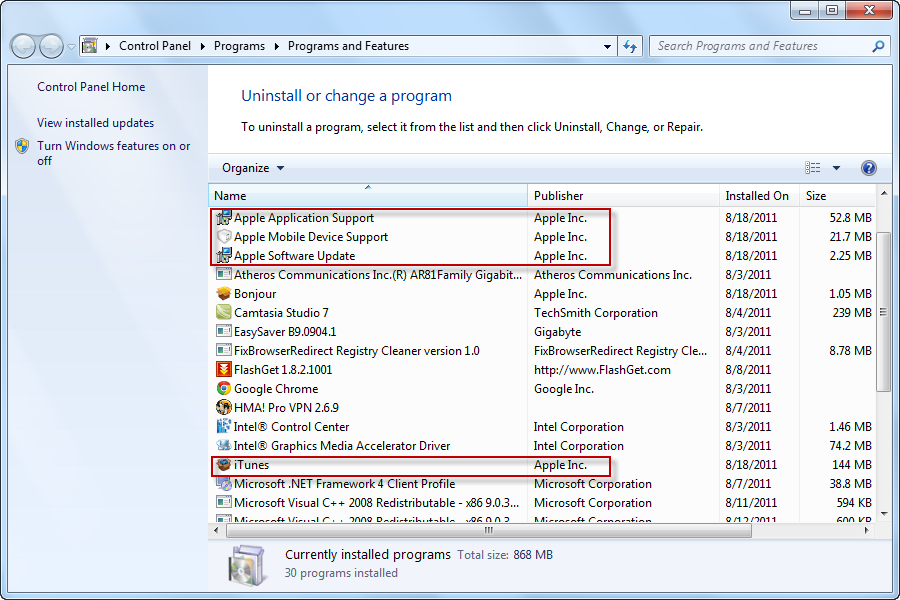
Click “Remove” next to uninstall it.
Why is it so hard to uninstall/remove iTunes
As you can see in the application list, there are other components along with iTunes installation.
Once you have uninstalled iTunes, you’ll then have to browse to the folder where the following components installed:
1. QuickTime
2. Apple Software Update
3. Apple Mobile Device Support
4. Bonjour
5. Apple Application Support (for iTunes 9 or higher version)
Although Under normal circumstances, these related applications can be deleted directly, most people find that it’s actually very difficult to get rid of the program using regular method as they may delete the wrong folders and files or leave a large number of settings & options behind inside Windows system. In that case, these incorrect operation may bring in serious system problems and slow down your computer.
That is why we recommend beginners and experts use an automated program to uninstall iTunes and remove all the trace and leftovers as well.
How to uninstall iTunes automatically in minutes?
- STEP 1. Download iTunes Uninstall Tool and Install It.
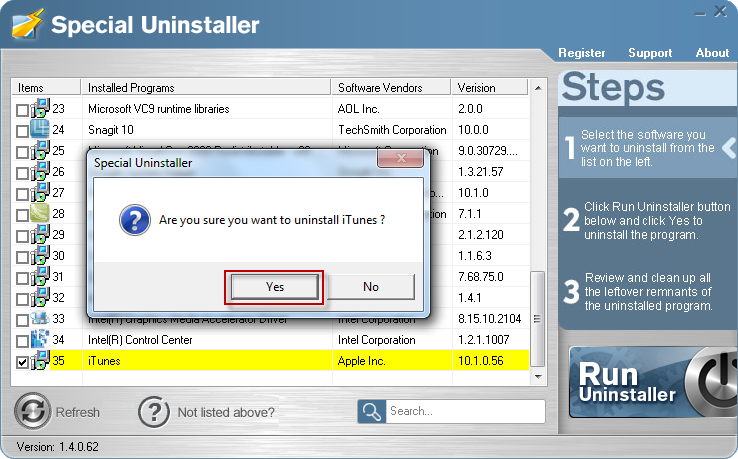
- STEP 2: Select iTunes from the detected program list and click “Run Uninstaller”.
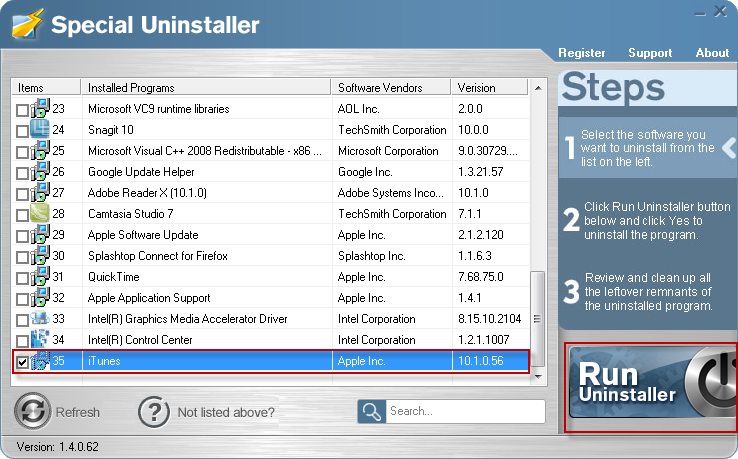
- STEP 3: Click “OK” button to start the uninstall process.
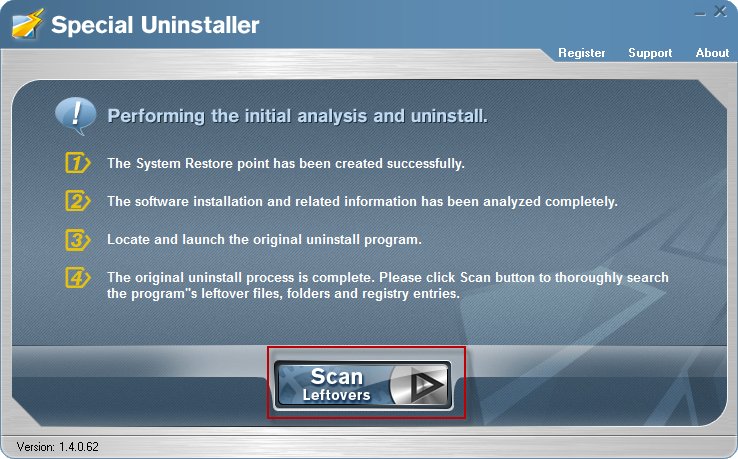
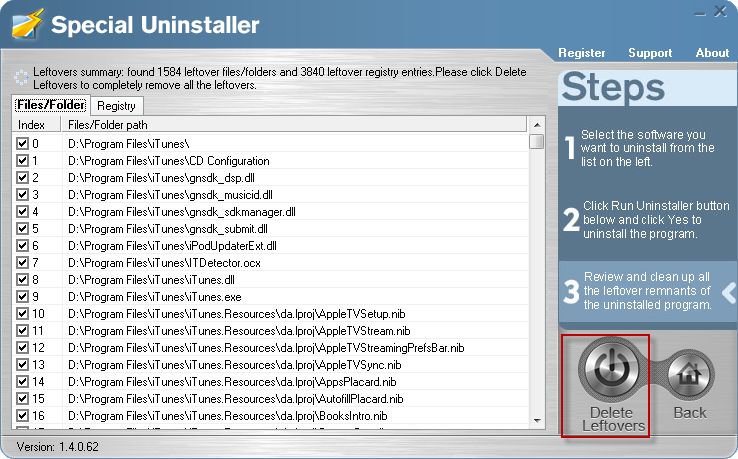
- STEP 4: Wait for the standard uninstall process to be completed and select Scan Leftovers to detect leftover files/registry entries and click Delete Leftovers.
- STEP 5: Click “OK” to finish the uninstall process

Leave a Reply