IE10 is the latest version of Internet Explorer that released by Microsoft. It claims that
it is able to offer a “great” web browsing experience, but sometimes it is causing problems instead.
If you are experiencing issues with Internet Explorer 10 (as are many other users) as below:
- Internet Explorer is running extremely slow.
- The related files with IE10 are damaged maliciously by malware and cannot be invoked smoothly to run IE10.
- Another browser is not compatible with it.
- Due to its vulnerability problems, IE10 sometimes keeps crashing or eats up a lot of resources to run on your computer that can drastically slow down your PC, degrade overall system performance and lead to software instability.
- Some integrated files of IE10 run at the background and system startup which may result in silent malware infection.

There are instructions to remove Internet Explorer 10 and get back to Internet Explorer 9.
1. First you need to click on Windows button at the bottom right corner of the screen, and then click Control Panel.
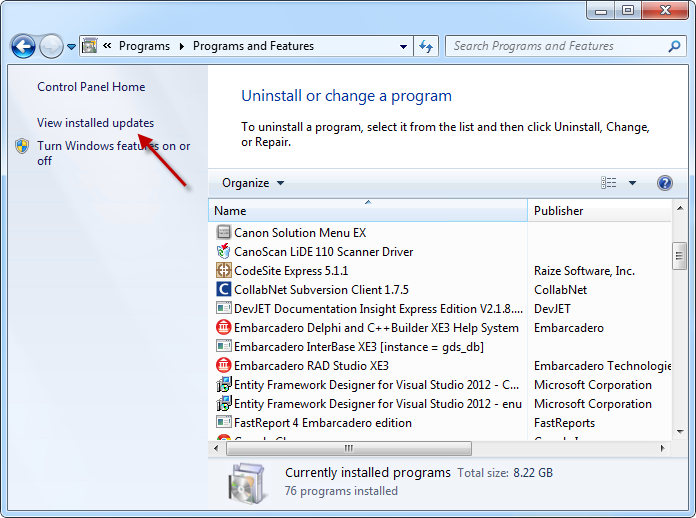
2. In the Control Panel, click ‘Uninstall a program’ under the category of Program.
3. Click in “View Installed Updates” in left side pane (refer to the below screen shot).
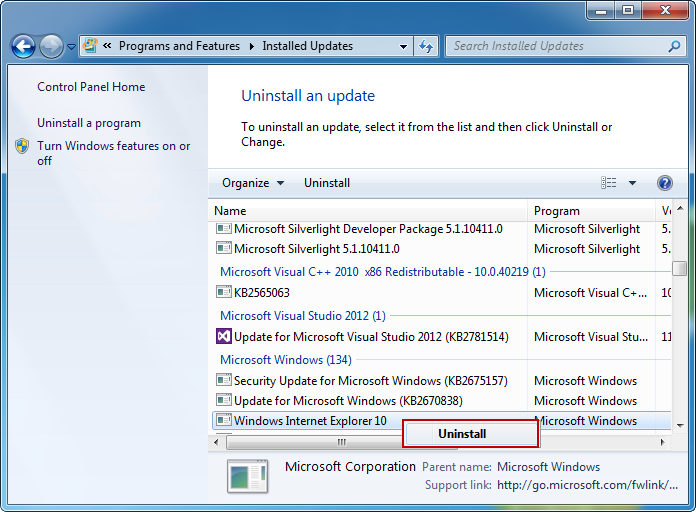
4. Go to “Uninstall an Update” screen and scroll down. In “Microsoft Windows” section, select “Internet Explorer 10” and click uninstall.
Please be noted that even though you might have successfully uninstalled Internet Explorer 10 with the above steps, it is still necessary to check your program files and Windows registry to make sure that no relating entries have been left down. For a green PC user, it may be a little difficult. However, with the automatic methods below, you can force uninstall Internet Explorer 10 thoroughly.
- STEP 1. Download the Uninstall Tool and Install It.
- STEP 2: Select the program from the detected program list and click “Run Uninstaller”.
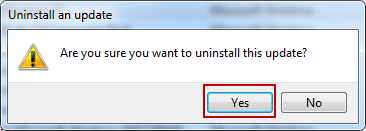
- STEP 3: Click “Yes” button to start the uninstall process.
- STEP 4: Wait for the standard uninstall process to be completed and select Scan Leftovers to detect leftover files/registry entries and click Delete Leftovers.

- STEP 5: Click “OK” and finish the uninstall process.
Yes, you don’t have to enter into Windows registry to delete the entries by yourself, you don’t have to reboot your computers so many times to uninstall IE10 from your computer. All you need to do is to click your mouse several times, and IE10 will be removed completely from your computer after a few minutes.
Leave a Reply