Lately I’ve seen many users complain that they don’t know how to remove Syncios Data Transfer, so I’m writing this page to provide the effective instruction.
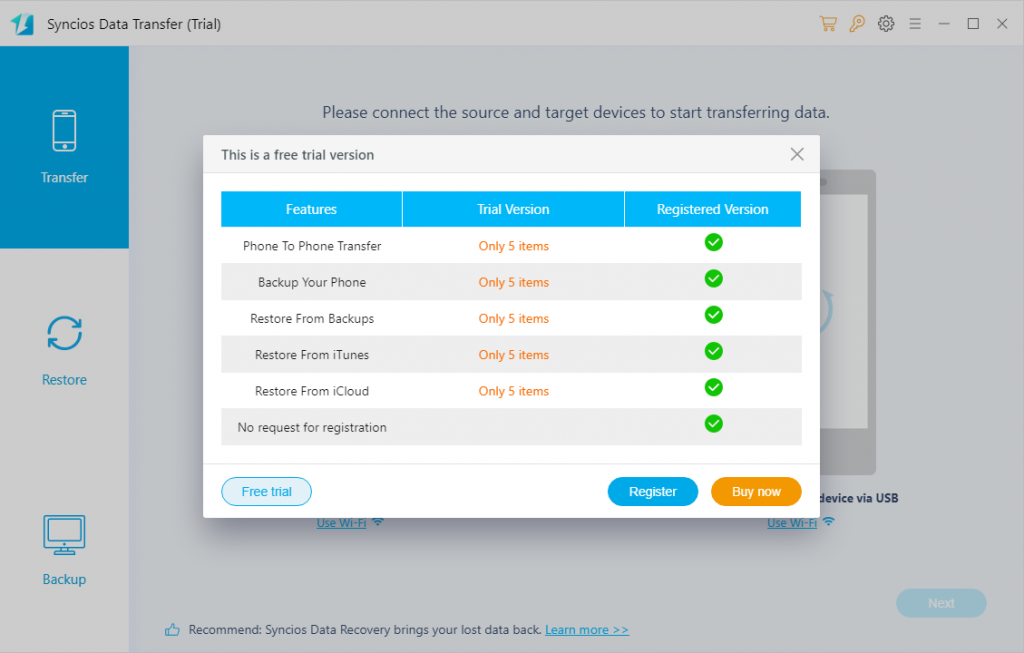
Syncios Data Transfer claims to be an easy-to-use and powerful transfer tool for both iOS and Android phones. The files it can transfer include photos, music, videos, contacts, text messages, call logs, and apps. If you just bought a new phone and have no idea how to copy data from the old one to the new, you may try this tool.
Since some users have been posting feedback that this tool can be hard to uninstall somehow, we wrote this article to provide solutions. The following instructions should be able to let you know how to remove Syncios Data Transfer in Windows.

Remove Syncios Data Transfer Step by Step
1. Try the installer.
> If you have problems to uninstall it, the first attempt can be reinstalling Syncios Data Transfer by downloading the installer from the official site, and then perform the removal again. Some installer may even provide the option to uninstall the program. If it completes the removal properly then you are done. If not, go to the next step.
2. Use an Administrator account.
> Make sure you’re running your PC as administrator, or you’ll need to provide the permission password during the removal.
3. Quit the program from running in the background.
> Remember to shut down the program before you take actions to remove Syncios Data Transfer.
4. End the Syncios Data Transfer process.
> Open Task Manager to check whether there is any related process running in the background and end them. This should be able to ensure a smooth uninstall process.
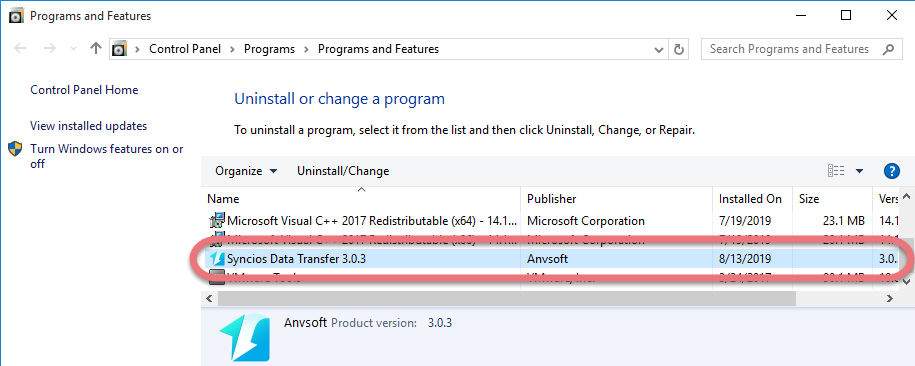
5. Remove Syncios Data Transfer from the program list (Programs and Features).
> In the bottom-left corner of your screen, right-click on the Start button, and select Programs and Features. Find Syncios Data Transfer in the list, double click it to begin.
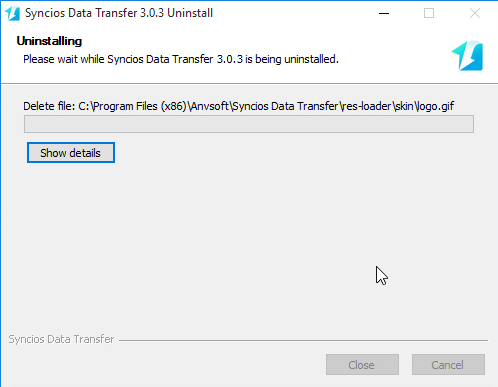
6. Provide confirmation.
> When asked if you are sure about the removal or something like that, click “Uninstall/Yes” and follow the default uninstaller to proceed until this part is finished.
7. Open the Registry Editor, where the remaining files (leftovers) can be found.
The entries of every program are written on the Windows REGISTRY during installation, so if you want to complete remove one, don’t skip this part. But modifying REGISTRY settings incorrectly can cause serious issues that may prevent your PC from booting properly. Microsoft cannot guarantee that any issues resulting from the configuring of REGISTRY settings can be solved. Modifications of these settings are at your own risk.
> Hover your mouse pointer to the bottom right corner until you see the charms bar pops up from the right side, click Search, type “regedit” in the box, and hit the “Enter” key on your keyboard to open the Registry Editor.
8. Delete the related leftovers to completely remove Syncios Data Transfer.
> If you don’t want Syncios Data Transfer, Delete this folder along with the caches: HKEY_LOCAL_MACHINE\SOFTWARE\Syncios Data Transfer. Then check for other leftovers by clicking Edit > Find… on the navigator, and searching for “Syncios Data Transfer”. Delete the result if found.
9. At last, reboot your PC.
After you perform every step above, the program should be gone. What if you think it too tedious to read and understand and want a simpler solution? Luckily, I prepared the following part.
Any Other Way to Remove Syncios Data Transfer More Easily?
If you are curious whether there is another option that makes the whole process simpler, the answer is positive, by which I mean getting some extra help from a user-friendly cleaning tool. You can find plenty of the similar tools online, but which is the champion? Watch the following short video to see how Special Uninstaller works to uninstall a program:
If this has convinced you, here are the steps to take:
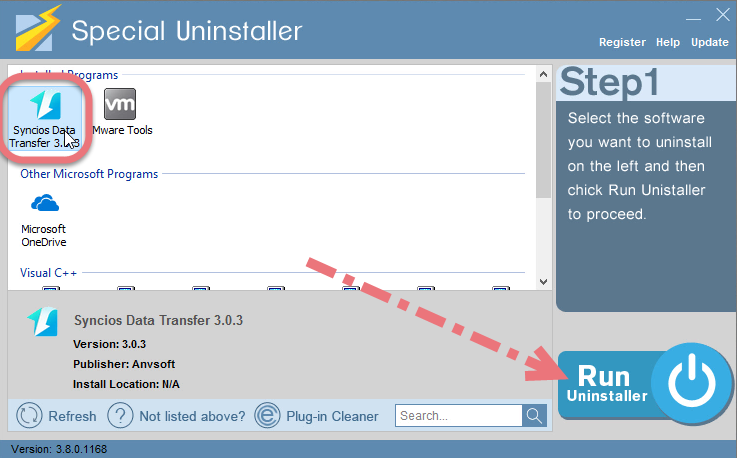
1. Run Special Uninstaller after installation, you can see what programs are currently installed on your computer.
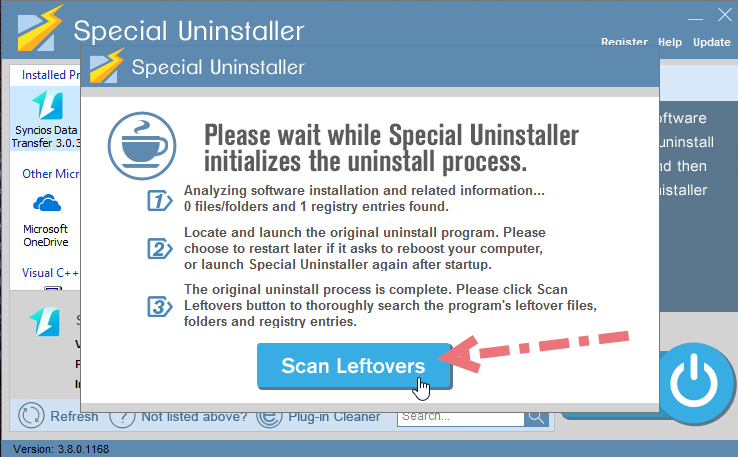
2. Select Syncios Data Transfer in the list, and click “Run Uninstaller.” It will scan all the related files and get ready for your next request, during which you may be asked for confirmation of this removal, just click “Yes/OK” to proceed.
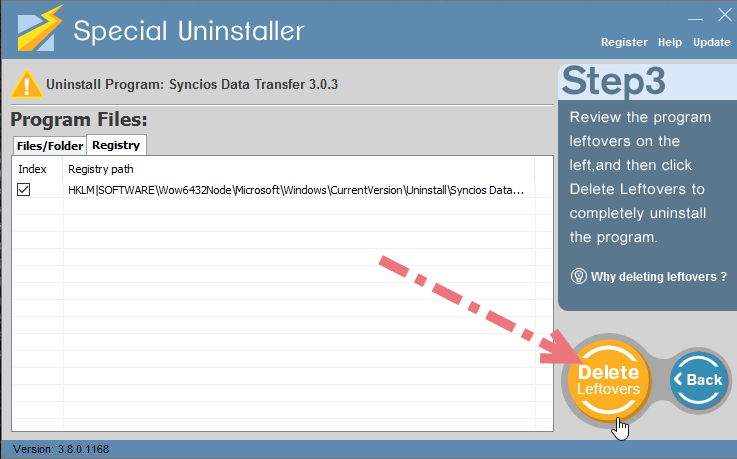
3. Click “Scan Leftovers” when it turns to blue, then you can see all the related vestiges that regular removal might left behind. Click “Delete Leftovers” to completely remove Syncios Data Transfer.
In the last clicking “Back” will return you to the list of the installed programs, where you can check if your target has been eliminated. Syncios Data Transfer should be gone by now, and you might as well try to remove other unwanted programs with Special Uninstaller.
If you have any doubt, feel free to leave comments below for our further assistance.
Leave a Reply