
Problem with Kaspersky Anti-Virus 2015 removal is a hot issue in currently on many computers, it seems like very easy to uninstall Kaspersky Anti-Virus 2015 with the Windows built-in removing utility, but the problem just come after the uninstallation: incomplete removal, which means that you will not be allowed to install the program or some other antivirus applications on your computer.

Kaspersky Anti-Virus 2015 is new version of Kaspersky Anti-Virus product with the coming of new year, which claims to offer an overall and real-time protection for the computer system. Removing an antivirus program is often a problem for the computer user, because many people don’t know how can remove it thoroughly on the PC, and the leaving preference files will often cause conflict issue with other security program installation. So, how can totally uninstall Kaspersky Anti-Virus 2015 without leaving any file or component on the computer? Please look at the following content.
Why the program cannot be removed completely?
Similar to gaming application on computer, antivirus program is often a complex and advanced application that contains many support and preference files, and even several kernels, furthermore, the longer you using the program on your PC, the more files and registries it will create on the Windows system. However, there is cruel fact many program removing executions only can help you clean those originally installed with the program. So that many other files and components still stay on the PC as a part of this application, which mislead the Windows system to believe that the program is still on the computer. In this situation, you should work out a way to resolve the remnant files problem.
Exact ways to uninstall Kaspersky Anti-Virus 2015 thoroughly
Remove it with an advanced uninstaller
If you you don’t want to see any lingering preference file after the program removal, I will recommend you to choose a professional uninstall tool to help you uninstall Kaspersky Anti-Virus 2015, because a good uninstaller often can help you find out all of associated files and registries during the removal, so that you don’t need to worry about leaving some files again on the computer after removing the program, and the uninstaller is able to clean them automatically in a short time.
Special Uninstaller is a sophisticated uninstall program that can detect all of lingering files after the standard removal, and offer a second and deep removal for these components on the computer.
Tutorials of removing Kaspersky Anti-Virus 2015 with Special Uninstaller
- Download and install Special Uninstaller on your PC
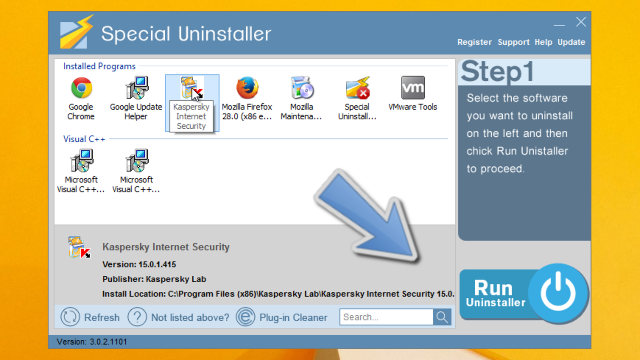
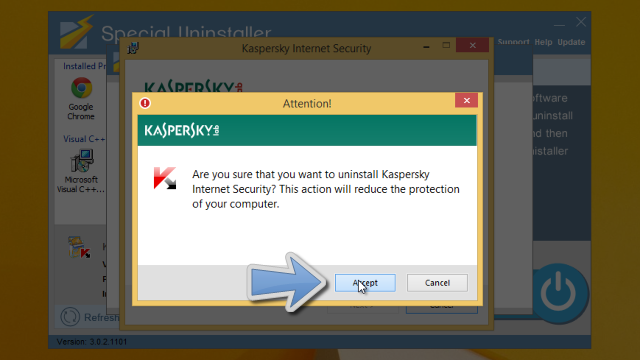
- Select Kaspersky Anti-Virus 2015 on the interface, click “Run Uninstaller”, it will start the standard removal after you click “Yes” to start the removal, and be sure to uninstall the program
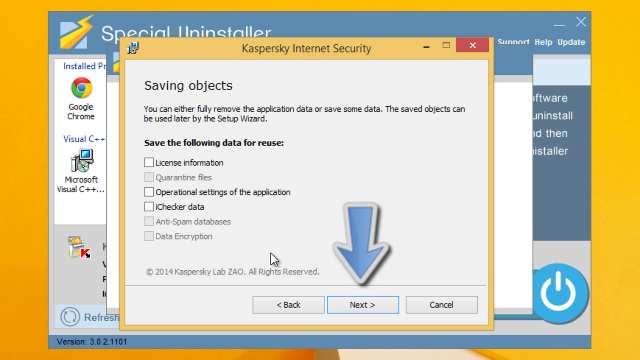
- Please remember to clear all of its associated files on your computer
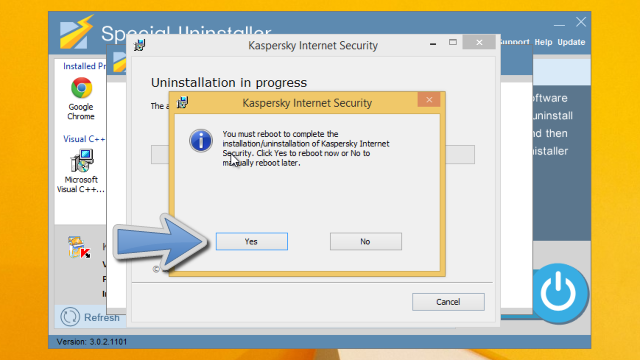
- After the first stage of removal, please restart your computer
- Open Special Uninstaller again after rebooting your PC, then review and remove all of leftovers
Uninstall Kaspersky Anti-Virus 2015 in Windows system by yourself
It is OK to remove the program without using an uninstaller, but you should get ready to uninstall the program with Windows built-in removing feature and clean its leaving files by yourself.
- Stop the operation of Kaspersky Anti-Virus 2015 on your computer
- Right-click on the Windows button at the bottom left corner of the desktop
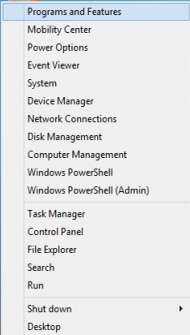
- Select Programs and Features, and select Kaspersky Anti-Virus 2015 on the list
- Click on Uninstall button on the head to start the program removal

- When it is completed, restart your computer
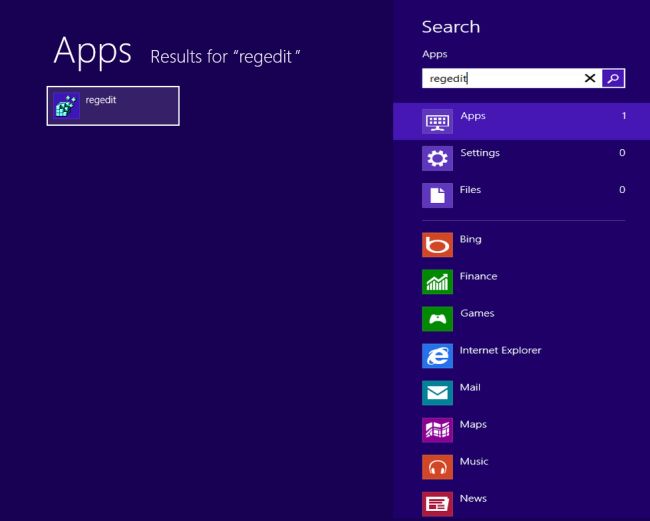
After finishing these steps, you only get the half removal, what you need to do next to uninstall Kaspersky Anti-Virus 2015 completely is finding out and removing all of Kaspersky associated files in associated folders and registries in Registry Editor, and this will certainly require you to take some time to complete.
Leave a Reply