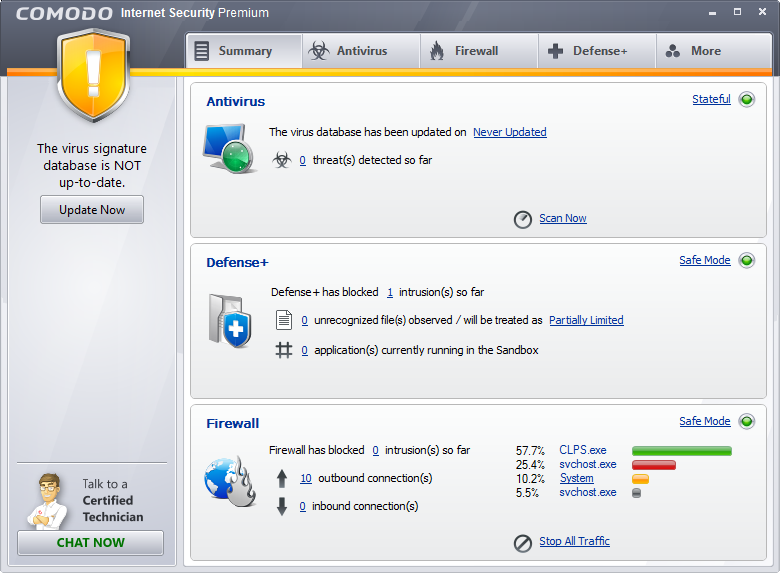
Comodo Internet Security is actually a wonderful program which can help scan, filter, block and stealth ports, making it difficult for cybercriminals to access the sensitive information on any personal computer. A lot of Security programs are available on the internet and you may find a better one than it. In that case, you will need to uninstall Comodo Internet Security from your computer. Many people may encounter significant difficulty in removing this Internet Security.

Video Guide
Manual Removal
In normal case, Comodo Internet Security software can be removed within Add or Remove Programs of Windows or through uninstaller offered by the Comodo companies.
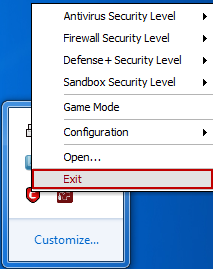
- Step 1. Exit the program by right clicking its icon on the Taskbar or open Task Manager with Ctrl+Alt+Delete to end its process.
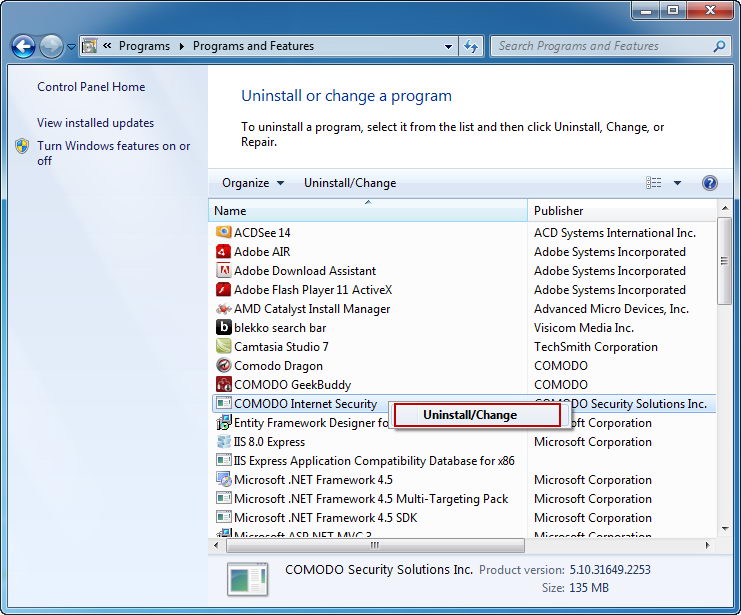
- Step 2. Click Start – Control Panel – Add/ Remove Programs.
- Step 3. Locate and choose this program and click “Uninstall”.
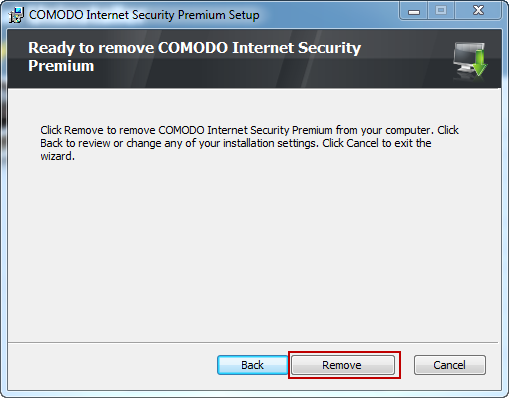
- Step 4. Click Remove to confirm this removal.
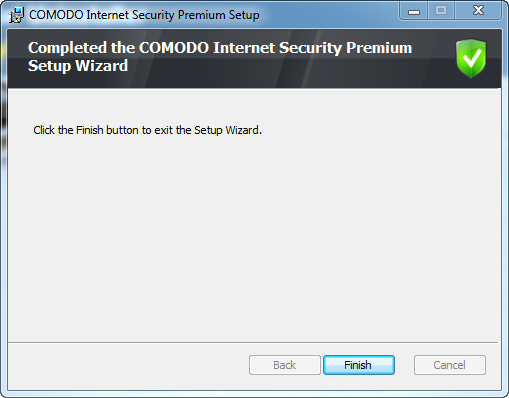
- Step 5. Then check and delete the following directories:
C:\Documents and Settings\admin\Application Data\Comodo
C:\Program Files\COMODO
And four files:
C:\WINDOWS\system32\cssdll32.dll
C:\WINDOWS\system32\guard32.dll
C:\WINDOWS\system32\drivers\cmdguard.sys
C:\WINDOWS\system32\drivers\cmdhlp.sys
C:\WINDOWS\system32\drivers\inspect.sys
- Step 6. Run Regedit and remove the following registry keys.
HKEY_CURRENT_USERSoftwareComodoGroup
HKEY_LOCAL_MACHINESOFTWAREComodoGroup
HKEY_LOCAL_MACHINESYSTEMSoftwareComodo
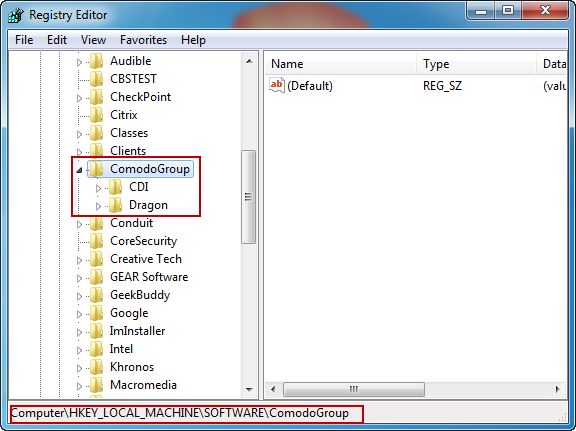
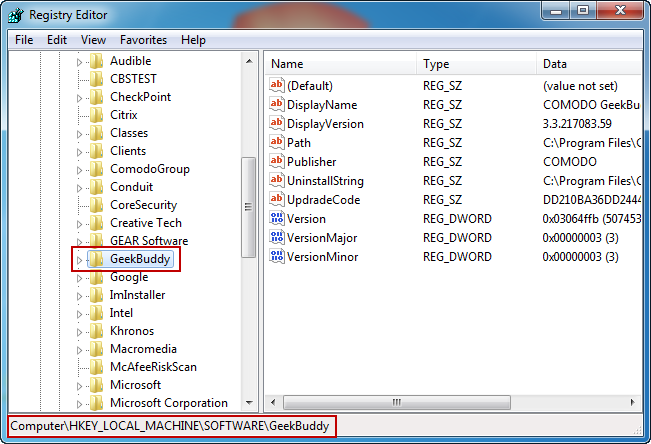
- Step 7. Restart your computer.

If you cannot find out Comodo leftover files on your PC or you encounter problems when removing Comodo Internet Security, you need a third party uninstaller to complete the task.
Automatic removal
- STEP 1. Download the Uninstall Tool and Install It.
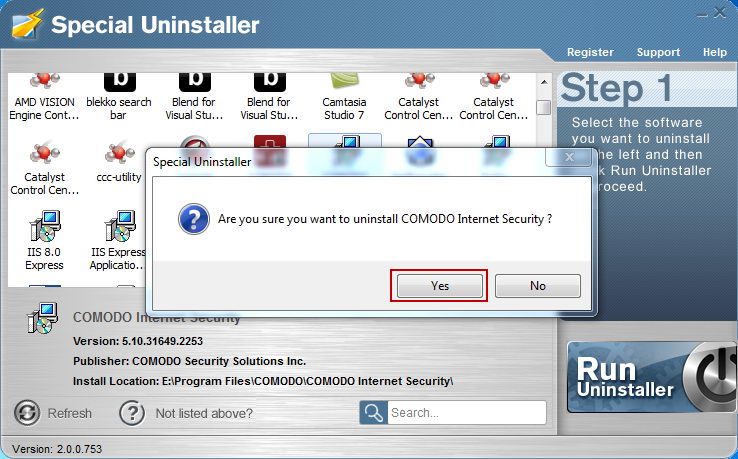
- STEP 2: Select Comodo Internet Security from the detected program list and click “Run Uninstaller”.
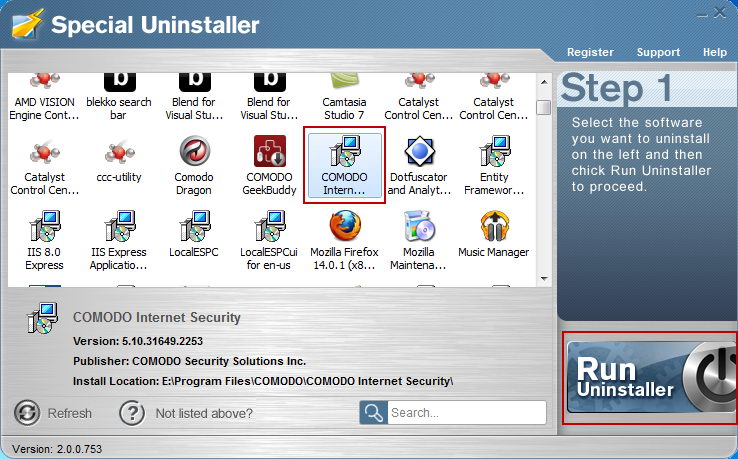
- STEP 3: Click “Yes” button to start the uninstall process.
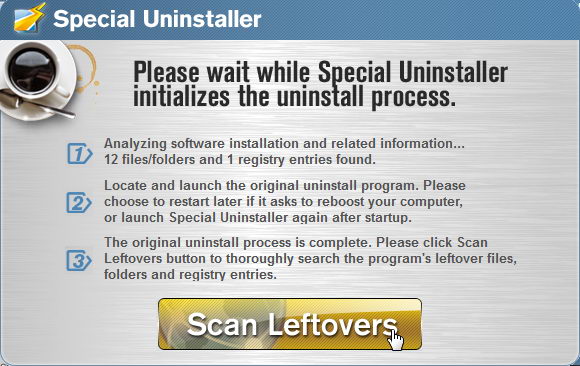
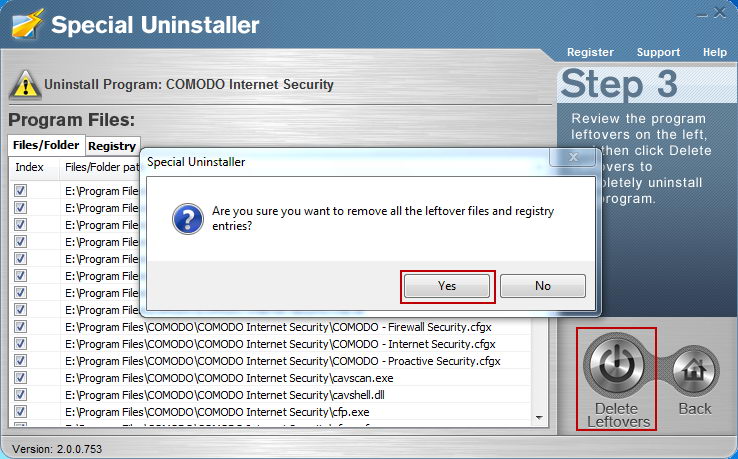
- STEP 4: Wait for the standard uninstall process to be completed and select Scan Leftovers to detect leftover files/registry entries and click Delete Leftovers.
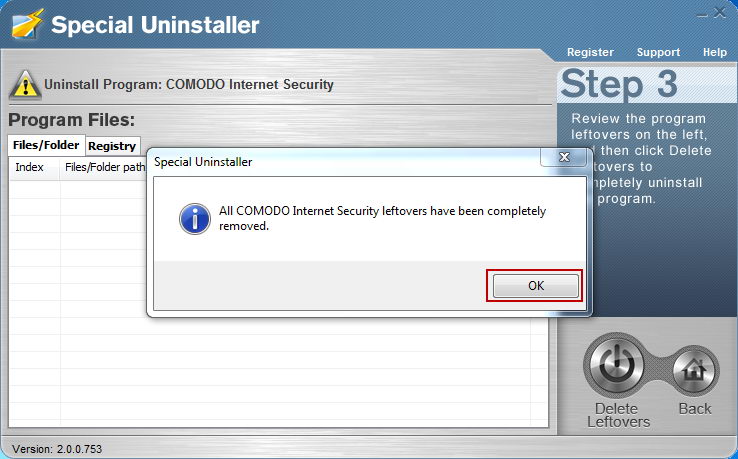
- STEP 5: Click “OK” to finish the removal.
Leave a Reply