On this page you can get solutions to successfully uninstall MyPublicWiFi in Windows and other useful information. Hopefully this is worthy your time.
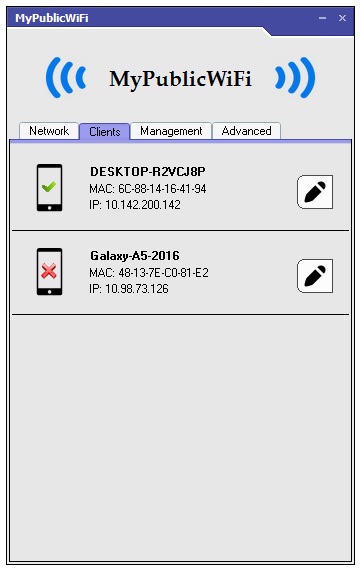
MyPublicWiFi can turn your PC/laptop/tablet into a WiFi Wireless access point or individual Hotspot. Any device nearby can use your network through your sharing. If you want to set up a temporary access point in a hotel room, meeting room, or at home, this can be very useful. If you want the customers to be redirected to your login page to authenticate with password or accept any terms of use, just enable the user authentication.
Lately some users have been posting questions online about how to complete remove this program, because every time after Windows finished the removal, it came back somehow. If you’re facing the same issue, the following tutorials may light your way up. Let’s see how to correctly uninstall MyPublicWiFi in Windows.

How to Manually Uninstall MyPublicWiFi in Windows?
Now let’s see how to correctly uninstall MyPublicWiFi from the Windows operating system:
Step 1: Uninstall MyPublicWiFi via the programs list.
If you want to do it via the Start menu:
> In the bottom-left corner of your screen, on the Start button and select Settings.
> Click System > Apps & Features.
> Select MyPublicWiFi and click Uninstall > Uninstall.
If you want to do it via the Start screen:
> In the bottom-left corner of your screen, right-click the Start button.
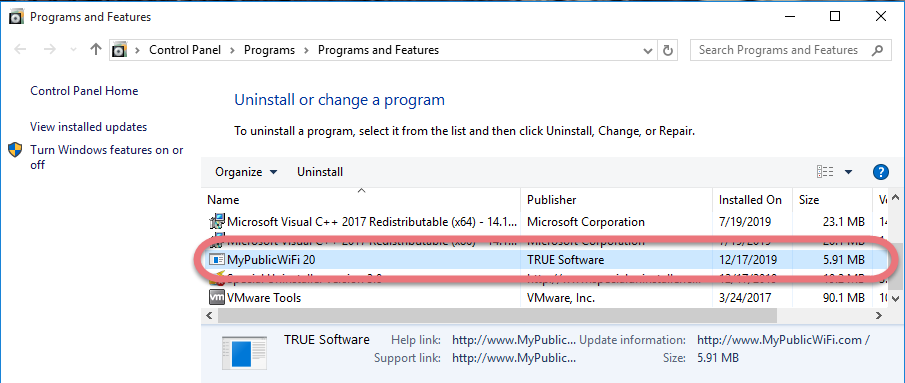
> Click Programs and Features.
> Find MyPublicWiFi and double-click it to activate the built-in uninstaller.
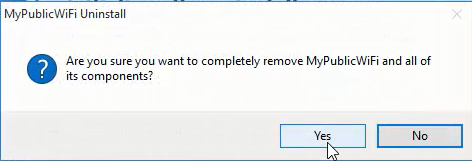
Step 2: Follow the prompts to proceed.
> When you see the option “Remove Personal Settings,” check it if you don’t want to reinstall the program, then click Remove.
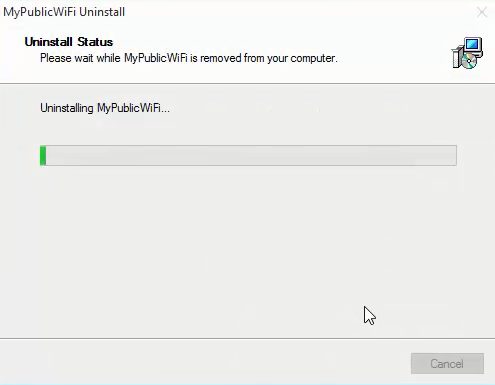
> Wait for the built-in uninstaller to finish its job.
> If you are sure there is no other programs of its publisher TRUE Software installed in the system, go to Step 3. Otherwise just skip to Step 4.
Step 3: Uninstall MyPublicWiFi Vestiges via the Registry Editor
If you want to do it via the Start menu:
> Click the Start, and enter “regedit” to open the Registry Editor.
> On the navigator, click Edit > Find…, and enter “TRUE Software” to find & delete the vestiges if found.
If you want to do it via the Charms bar:
> Point your mouse to the bottom-left corner of your desktop, and click Search on the charms bar.
> Enter “regedit” in the box to open the Registry Editor.
> On the navigator, click Edit > Find…, and enter “TRUE Software” to find & delete the vestiges if found.
Step 4: Restart your PC to take effect.
Then check whether the program has been completely removed. But if you have installed Adaware in compatible mode, reboot is not required.
The removal steps I listed can be performed in both Windows 8 (Start screen) & Windows 10 (Start screen/Start menu). In case you haven’t figured out how to change the Start screen into the Start menu in Windows 10:
1. Go to Start > Settings command.
2. At the Settings window, click the setting for Personalization.
3. At the Personalization window, click the option for Start.
4. In the right pane of the screen, the setting for “Use Start full screen” is turned on. Just turn it off.
5. Click the Start button, and you should see the Start menu. 🙂
A Simpler Way to Uninstall MyPublicWiFi & Other Unwanted Programs
Another solution I would like to introduce is an easy-to-use, small-sized tool that supports all the popular Windows OS versions. You can also try to uninstall other programs that are not welcome anymore in the system with it. How does it work? Take a quick look below:
Step 1: Click any of the blue download buttons on this page or visit the homepage to download Special Uninstaller.
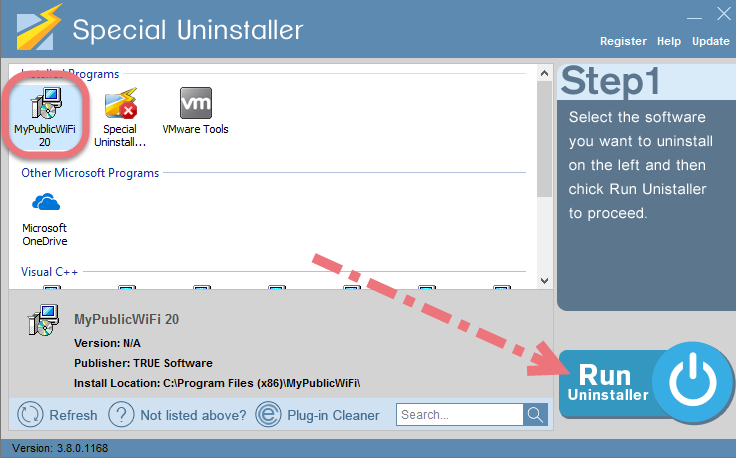
Step 2: Run it, and you can see clearly what programs are installed currently. Choose MyPublicWiFi and click Run Uninstaller.
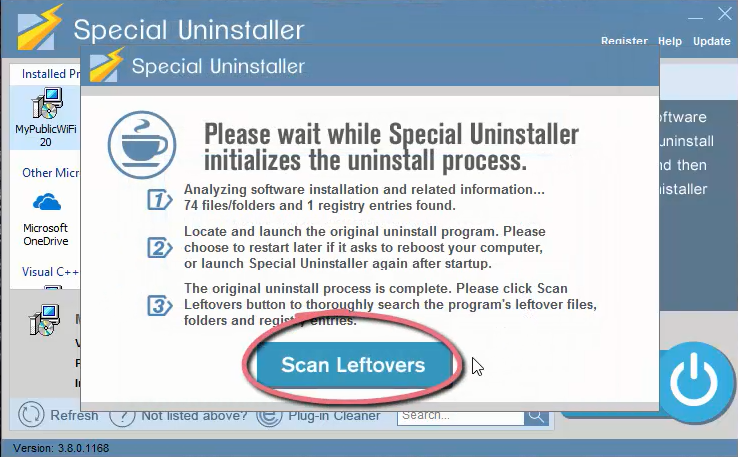
It will scan for all the related files and get ready for your next request, during which you may be asked for confirmation of this removal, just click Yes/OK to proceed.
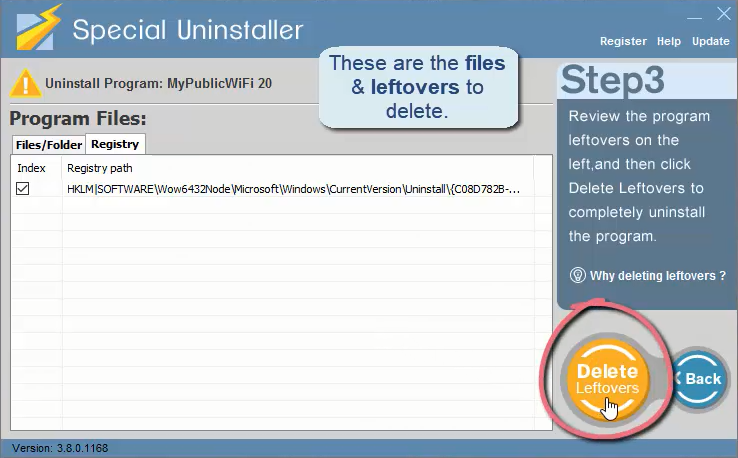
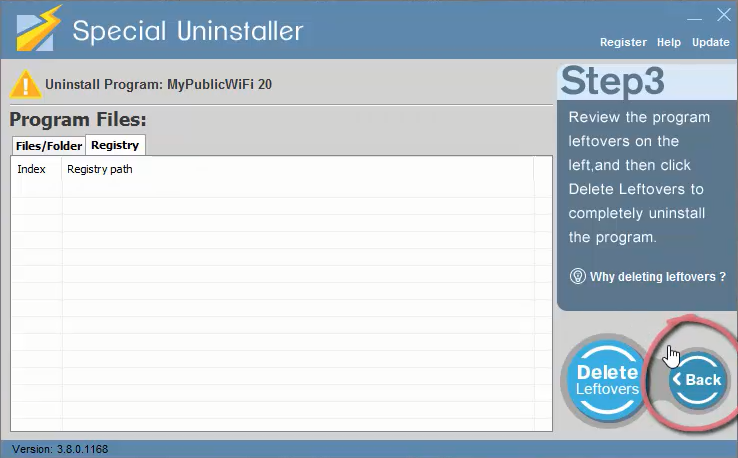
Step 3: Click Scan Leftovers when it turns to blue, then you see the all the vestiges that most users will forget to delete during the manual removal. Click Delete Leftovers to fully uninstall MyPublicWiFi.
Clicking Back to refresh the list of currently installed programs, and check whether your target is no long there. You can perform the same steps to remove other needless programs and free up some disk space. I do hope this recommendation can be a better removal solution to you anytime.
Leave a Reply