Here is your chance to learn how to correctly remove FixCleaner in Windows. Just grab the useful information that can be used in many cases.
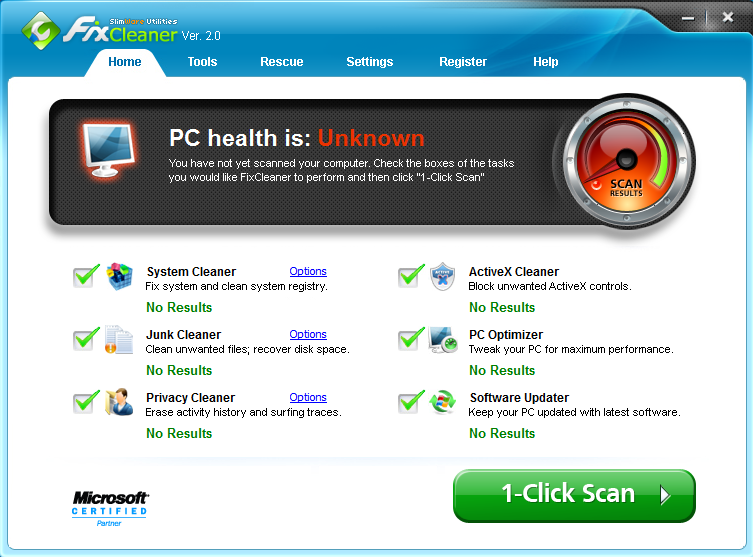
According to the official site, FixCleaner seamlessly integratesthe multiple tools you need to make your PC run faster, more reliably. It also claims to eliminate errors, harnesses the power of over a dozen optimization utilities. To anyone familiar with a scanner, this program should be easy to use. Other details:
Official website: fixcleaner.com
Installation folder: C:\Program Files\FixCleaner\
Estimated size: 45.77 MB
Language: English (United States)
Read on to find out how to correctly, safely remove FixCleaner from your computer.

How to uninstall NTI Backup Now EZ? How to uninstall ScanGuard?
How You Can Remove FixCleaner on Your Own
There could be kinds of reasons that you failed to remove FixCleaner or some other programs in Windows, but I’m not wasting you time on reading the technical failures instead of solutions.
If the problem comes from FixCleaner itself, try to reinstall the program first, so that the missing-file issue would be solved, and the corrupted/damaged pieces would be replaced. Then let’s move on to the specific uninstall tutorials:
1. Open the Control Panel.
Click the Start button, and enter “Control Panel” in the search box (Or right-click the Start button, and select Control Panel).
2. Open the list of currently installed programs.
Click the Uninstall a program link under Programs.
3. Remove FixCleaner by activating its built-in uninstaller.
In the list you will see all the programs you’re having in the system. Just find and double-click FixCleaner to start the removal, after which go back here and perform the same steps to remove the rest of them.

4. Proceed with the removal and provide the confirmation.
Click the Next/Yes/Uninstall/Remove button to proceed, and wait until the uninstall wizard finishes its job.
5. Open the Registry Editor.
Press and hold the Windows key + C on your keyboard, and you will see the Charms pop up from the right side of your screen. Select Search, and enter “regedit” in the box.
6. Find and delete the registry entries (leftovers) of FixCleaner.
You can choose to back up the registry first in case of any mistaken deletion: On the navigator click File > Export…, type a name and save the copy to a location.
To remove the leftovers, delete this folder: HKEY_CURRENT_USER\Software\FixCleaner
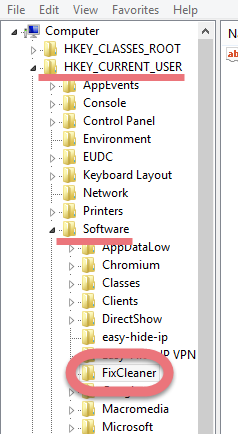
To check for other possible leftovers: on the navigator click Edit > Find…, enter “FixCleaner” in the search box. Delete them (if found) to completely remove FixCleaner.
7. Reboot your computer to take effect.
Then you can go to the System Tray, Start menu, Control Panel, etc. to check whether the program has been completely uninstalled.
Easily, Quickly Remove FixCleaner with Special Uninstaller
This method applies to all the popular Windows systems, saving troubles and possible risks during the conventional removal. The following short video will give you a quick view of how it works:
Then here are the steps:
1. Download & install Special Uninstaller.
Click any of the blue download buttons on the page to download & install Special Uninstaller, then run it.
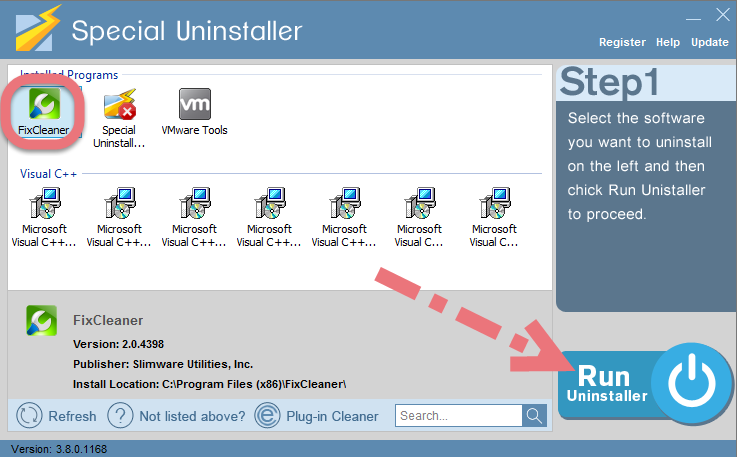
2. Remove FixCleaner.
Select FixCleaner in the Programs list, and click Run Uninstaller, follow the on-screen instructions of proceed and confirm the removal.
3. Delete the registry entries.
Click Scan Leftovers, and you will see a list of deleting files and registry entries (leftovers) of the program. You can review the list for details including their names and locations, then hit Delete Leftovers to fully remove FixCleaner.
Clicking Back will bring you back to the list of currently installed programs, so that you can check whether the uninstall was successful.
More to Say
If you failed to remove FixCleaner or some other program by using the uninstall.exe or in any other ways, do not try to complete the cleaning job by deleting things in the Registry Editor. If any essential files are removed incorrectly, the system may be damaged, and you’ll have to reinstall the whole system. To avoid that, you’re suggested doing the removal safely by using Special Uninstaller. It’s all your choice. 🙂
Leave a Reply